Chocolate Covered Cheesecake Bites
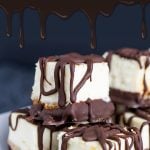
Chocolate covered cheesecake bites are an easy ultimate party finger food treat! A cool, creamy, rich mini cheesecake bite drizzled with chocolate.
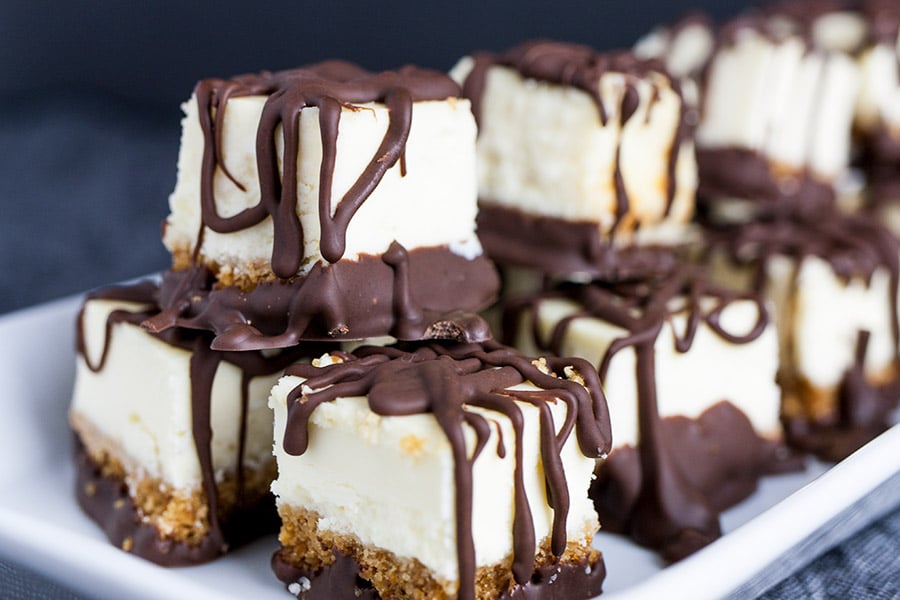
Perfect for barbecues, holidays or parties of any kind! Be frugal and make them yourself. These cheesecake bites are the best make-ahead dessert treat ever.
Try our Bread Pudding!
Chocolate Covered Cheesecake Bites
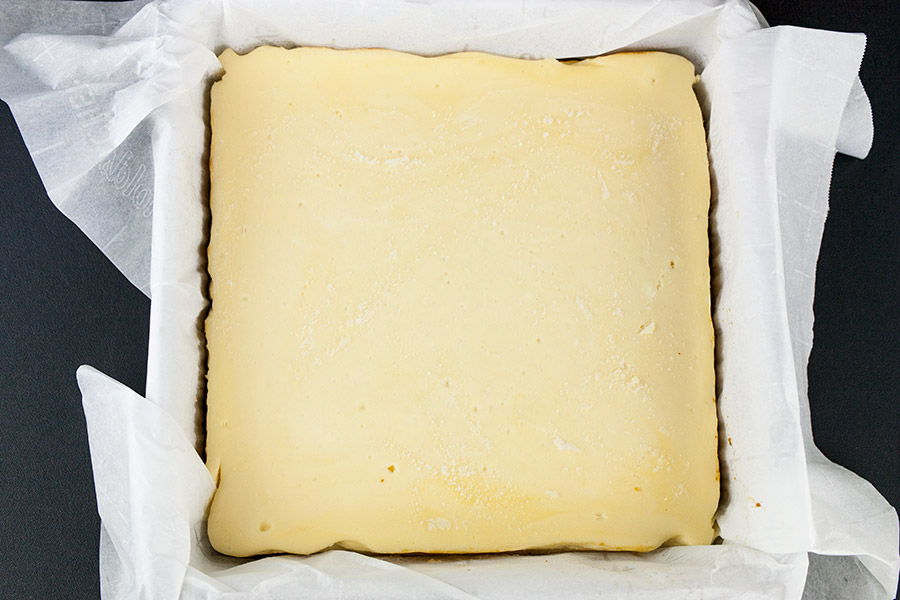
How to make cheesecake bites.
Preheat the oven to 350ºF. Prepare an 8×8 square baking pan with parchment paper, leave extra along the sides to use as handles when removing the cheesecake to cut into squares.
In a small bowl combine the graham cracker crumbs with the melted butter. Press the crumb mixture evenly into the bottom of the prepared pan. Bake for 10 minutes. Reduce the oven temp to 325ºF.
Using an electric mixer, beat the cream cheese and sugar until light and fluffy, about 3-4 minutes. Add the sour cream, eggs, vanilla, flour, and salt. Beat until just combined and smooth. Do not over mix.
Pour the cream cheese mixture over the graham cracker crust and bake cheesecake 35-40 minutes, or until it is slightly jiggly in the center. Remove to a wire rack to cool completely.
Freeze for at least 3 hours or overnight.
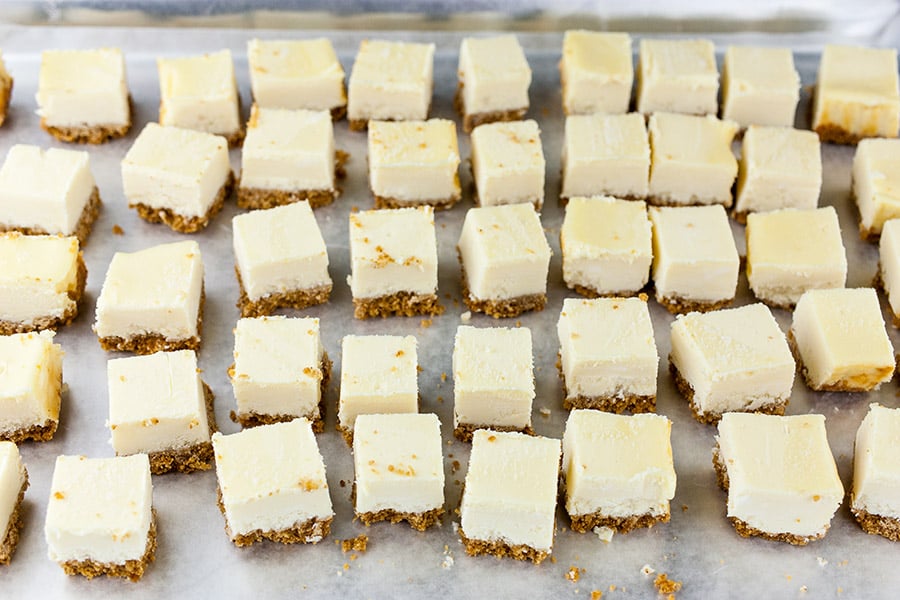
Once frozen, lift the cheesecake out of the pan to a cutting board. Cut the cheesecake into about 1″ – 1 1/2″ bite-size squares. (I do 1″ pieces and it produces about 45 pieces.)
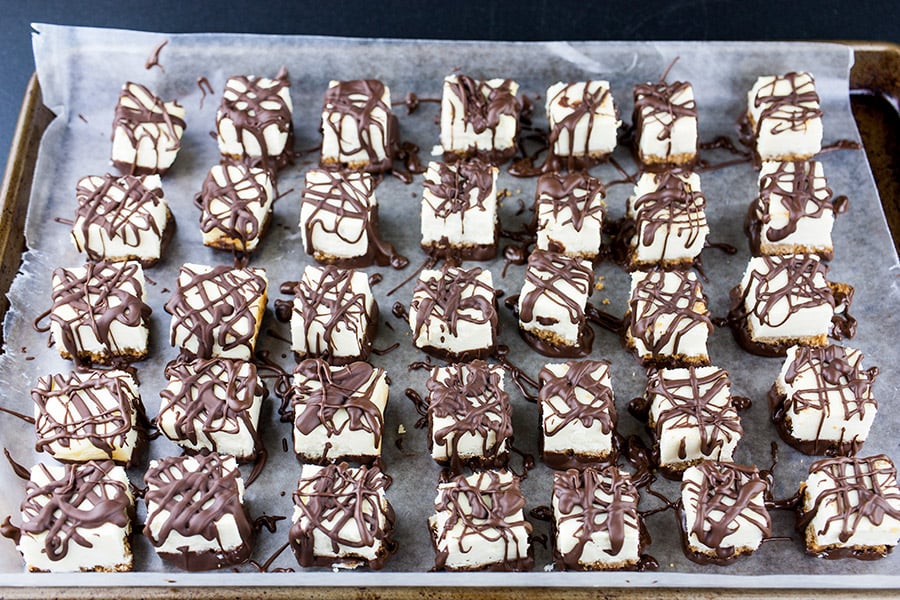
In a microwave-safe bowl melt the chocolate chips with the coconut oil for 1 to 2 minutes, stirring after every 30-second interval. Dip the bottom of the cheesecake bites into the chocolate and place on a parchment-lined baking sheet. Then drizzle the tops with the melted chocolate.
You can also dip and cover the entire cheesecake bite. But you will need 16 ounces instead of 12 ounces of chocolate chips.
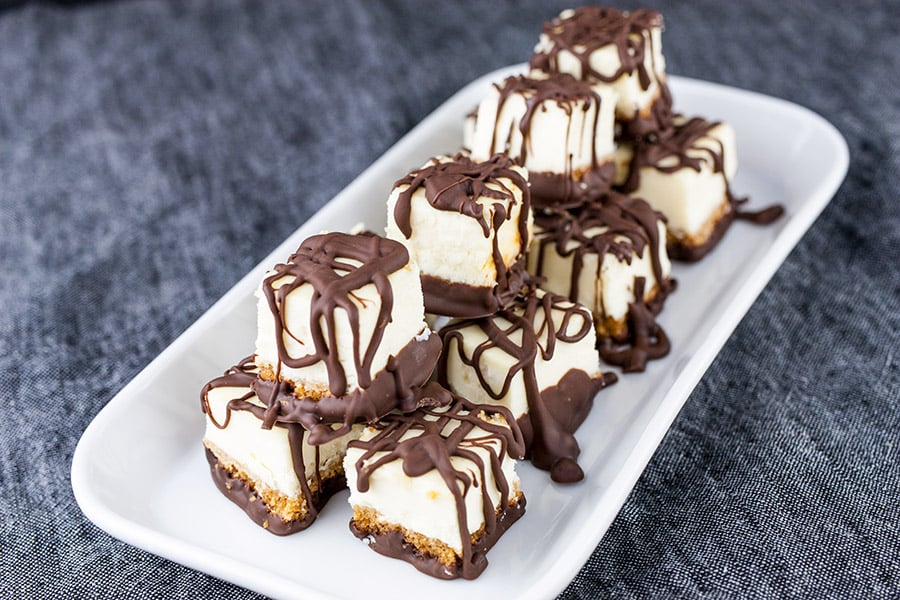
Refrigerate until the chocolate is set. Store in an air-tight container in the fridge or freezer until ready to serve.
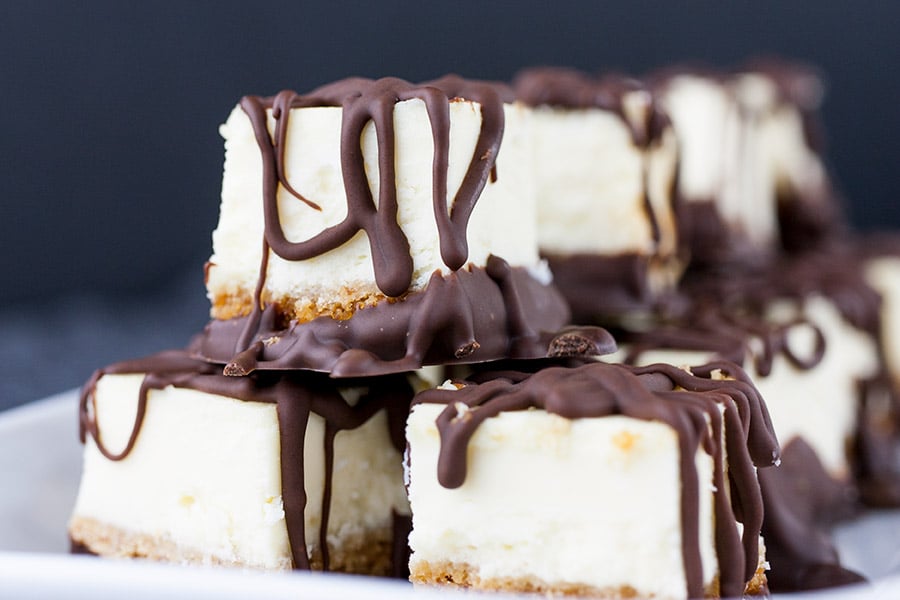
Serve and enjoy these mini Chocolate Covered Cheesecake Bites! Less guilt when it’s only a one bite dessert, right?
Check out our Peanut Butter Balls!
Chocolate Covered Cheesecake Bites Recipe
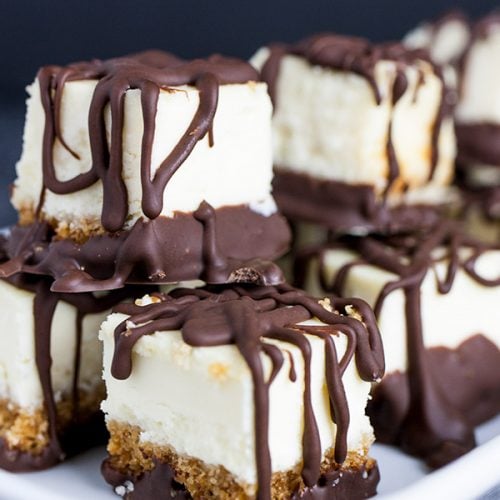
Chocolate Covered Cheesecake Bites Recipe
Ingredients
The Crust
- 1 1/4 cups graham cracker crumbs
- 5 tablespoons unsalted butter melted
Cheesecake Filling
- 2 8 ounce packages cream cheese at room temperature
- 1/2 cup granulated sugar
- 1/4 cup sour cream
- 2 large eggs
- 1 teaspoon vanilla extract
- 1 tablespoon all-purpose flour
- 1/2 teaspoon salt
Chocolate Coating
- 12 ounces semisweet chocolate chips (you may need 16 ounces if dipping the entire bite)
- 2 tablespoons coconut oil
Instructions
Crust
- Preheat oven to 350 degrees F. Line an 8 x 8-inch square baking dish with parchment paper leaving an overhang on the sides.
- In a small bowl combine graham cracker crumbs and melted butter. Press mixture evenly into prepared pan. Bake for 10 minutes. Reduce heat to 325°F.
Cheesecake filling
- Using an electric mixer, beat the cream cheese and sugar until smooth and fluffy, about 3-4 minutes. Add the sour cream, eggs, vanilla, flour, and salt and beat until just combined. Do not to overmiy.
- Pour the batter over the crust and bake for 35 to 40 minutes, or until the cheesecake center is slightly jiggly.
- Remove to a wire rack to cool completely. Freeze for 3 hours, until very cold and firm, or overnight.
Chocolate coating
- Once frozen, lift cheesecake out of the pan onto a cutting board. Cut the cheesecake into 1-inch bite-size squares. If squares become too soft, freeze until chilled again.
- Place the chocolate and coconut oil in a microwave-safe bowl and heat for 1 to 2 minutes, stirring every 30 seconds, until melted and smooth.
- Line a baking sheet with parchment paper. Dip the bottom of the cheesecake squares, one at a time, in the melted chocolate. Let the excess drip off and place on the prepared sheet. Drizzle the chocolate over the tops of each cheesecake bite. Repeat for all the squares then refrigerate until the chocolate is set. Store the squares in an airtight container in the fridge or freezer until ready to serve.
These definitely would be great to take to a party! Thanks for sharing your recipe at The Blogger’s Pit Stop! Roseann from This Autoimmune Life