Delectable Crispy Chicken Teriyaki Thighs Recipe
Preparing a dish of delicious and memorable chicken teriyaki thighs is easier than you think. Quick, easy, and no bottled sauces. Very tasty!

Chicken Teriyaki is another one of those dishes that everybody knows but perhaps never sees at the dinner table. I am hoping that this recipe will change that.
If there is really one secret how to make a delicious and memorable chicken teriyaki is to make your own teriyaki sauce.
It makes all the difference in the world. And making the sauce is so much easier than one would think.
How To Make Chicken Teriyaki Thighs
It’s honestly as easy as frying up some chicken thighs in the pan and whipping up the sauce. The sauce itself does not call for many ingredients.

You may need to make a trip to the local grocery store if you don’t have sake and mirin in your pantry. But what’s nice about this is that you can make the sauce and it keeps for around 3 months.
The sauce in this recipe makes more than enough to cover the chicken.
You can store the rest or pour it on everything. Yeah, I put some on my broccoli too. 🙂
Ingredients For Chicken Teriyaki Thighs
Meat
- Deboned skin-on chicken thighs
Sauce
- Sake
- Mirin
- Soy Sauce
- Vegetable Oil
- Garlic
- Ginger
- Cornstarch and water (slurry, thickener)
- Sesame Seeds
Sides
- This is entirely up to you. I went with rice and broccoli for this recipe.
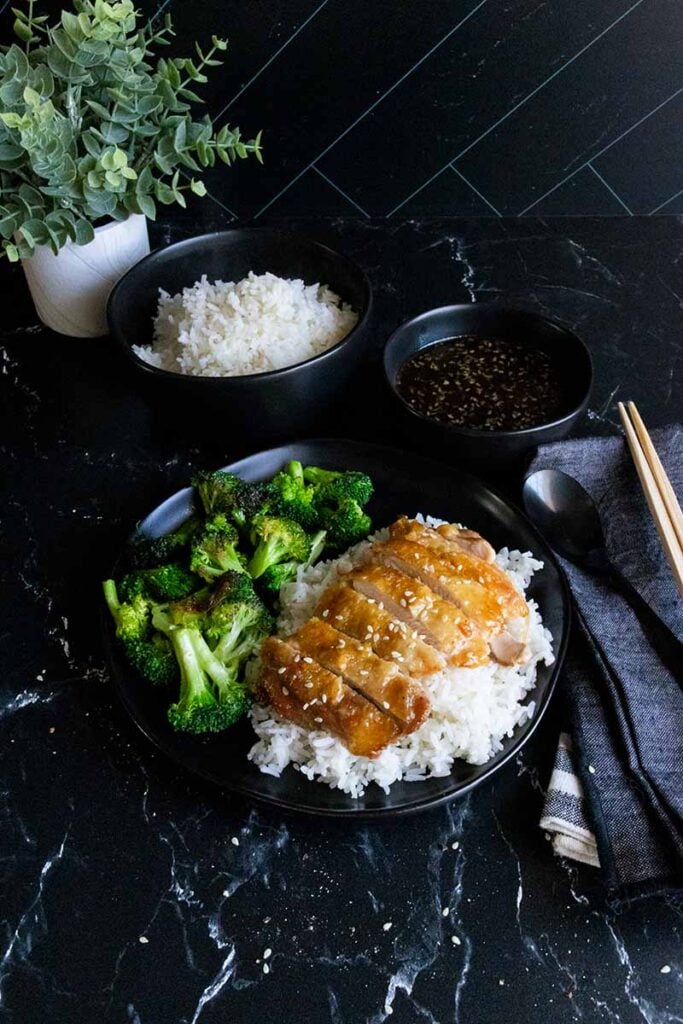
When I prepared this dish I made the chicken, the teriyaki sauce, and the rice at the same time.
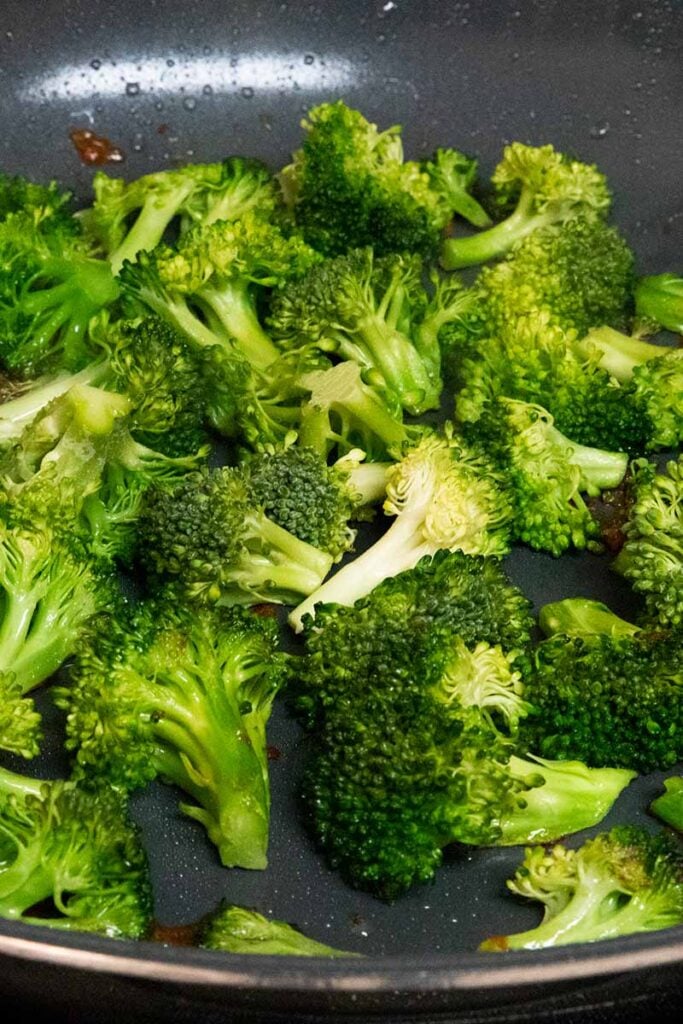
When the chicken was complete I cooked the broccoli in the rendered chicken fat and placed the chicken in a preheated oven at 200 degrees Fahrenheit until I was ready to serve.
Our recipe calls for deboned chicken thighs with the skin on. You could use skinless chicken thighs or chicken breasts if you like. If you do, I would probably use a marinade.
But we’re not going that way with this recipe. We want that CRISPY skin and a marinade will not let that happen.
Debone the chicken thighs and set them into the refrigerator uncovered for at least 30 minutes to 24 hours, allowing it to dry out.
We have prepared these crispy chicken thighs using the 30 minute AND 24-hour methods. If I am thinking about it I will leave it for 24 hours. 30 minutes is fine and the skin crisps up wonderfully.
While the chicken thighs are drying out in the refrigerator gather the ingredients together and make preparations for your sides.
I finely chopped up my fresh ginger and fresh garlic and set that aside for the sauce. I also cut my broccoli up and set it aside and got the rest of the ingredients ready.
Nothing worse than running around looking for something right in the middle of cooking.
Cooking The Crispy Chicken Thighs
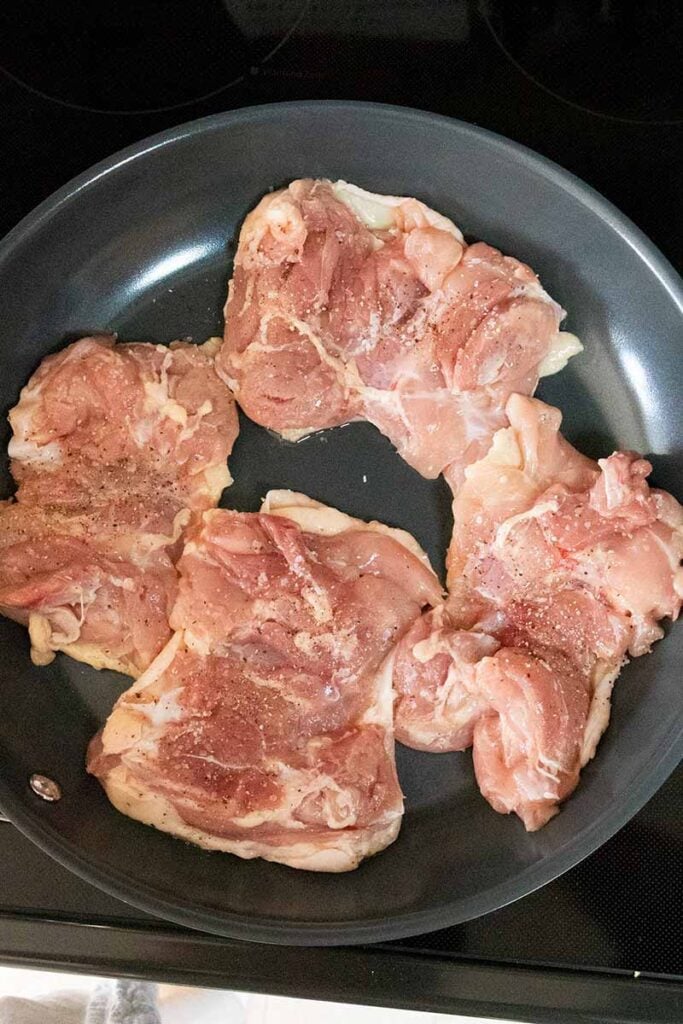
When you are ready, remove the deboned chicken thighs from the refrigerator. Season both sides with salt and pepper.
Place chicken skin side down in a cold large skillet and increase to medium heat.

Watching the heat, cook until the skin has a nice crispy sear and is golden brown, about 12 minutes.
If you feel as if the chicken is going to be done before you’re ready to serve, preheat your oven to 200 degrees Fahrenheit.
You can place the chicken in the oven while preparing the sides of your choice.
Flip the chicken and continue to cook for 5 to 7 minutes until the other side is crispy and the internal temperature reads 165 degrees Fahrenheit.
Making The Teriyaki Sauce
While the chicken is cooking, place a small saucepan over medium-low heat for the teriyaki sauce.
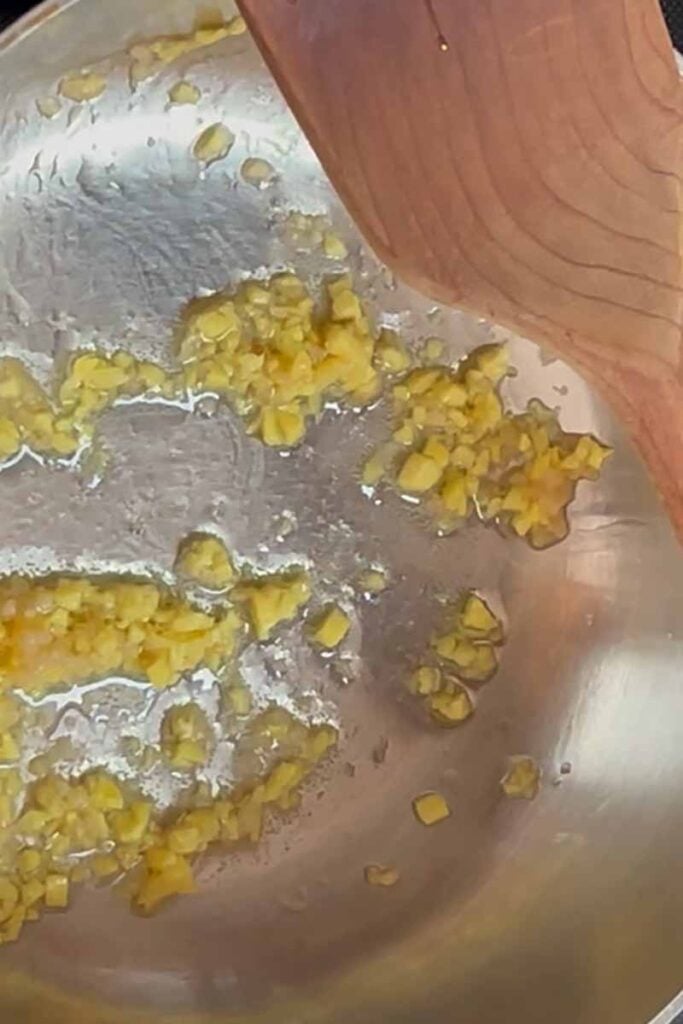
Add a tablespoon of oil. After a minute or so, add the finely chopped garlic and minced ginger to the oil.
Cook for approximately 3 to 4 minutes. Give it a stir occasionally. We want the aromatics to bloom, not burn. Adjust your heat as needed.
Add one cup each of sake, mirin, and soy sauce to the saucepan and bring to a low simmer. Cook for about 5 minutes to allow the alcohol to cook off.
Allow the sauce to continue to cook until it has reduced by a third.
In a small bowl add two tablespoons of cornstarch and 4 tablespoons of water.
Combine until well mixed. Add the cornstarch mixture to the small saucepan. Whisk together.
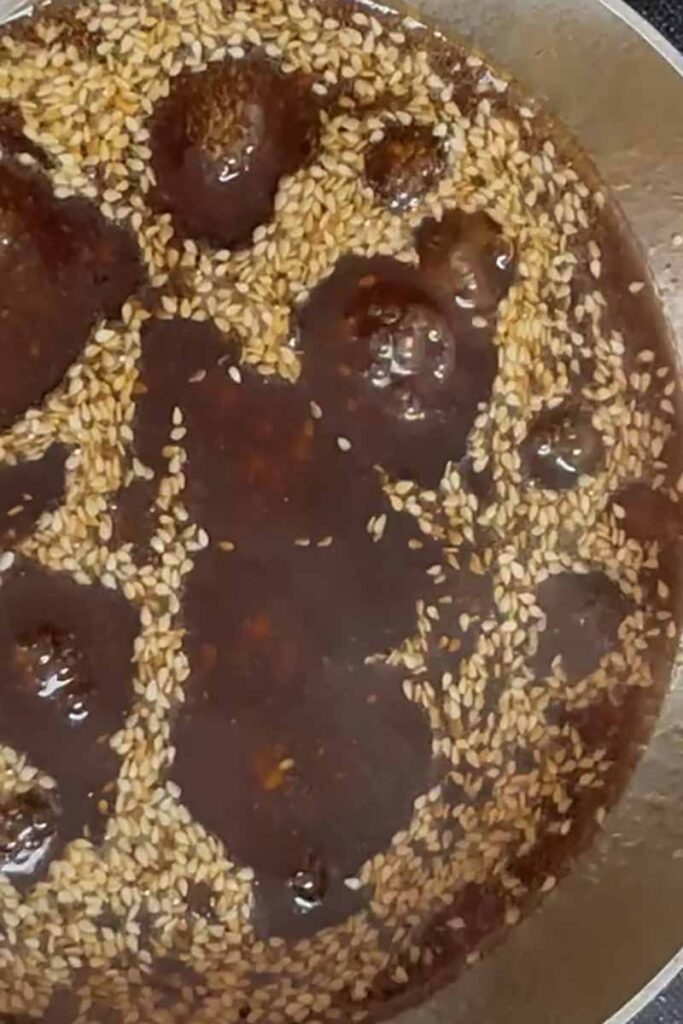
As a last step add 1 tablespoon of sesame seeds and stir. The sesame seeds add a nice texture and, in my opinion, adds a visual appeal to the sauce.
Once the sauce is complete you are ready to serve!
Variations
I found that the sauce was plenty sweet from the sugar in the mirin for my taste.
Give it a taste and if you want it sweeter add an additional teaspoon of sugar, brown sugar, or honey.
Also, if you like a bit of heat in your sauce, add a teaspoon of red pepper flakes or some sriracha sauce.
This sauce works well on everything. If you have a favorite protein, give it a try!
Putting The Teriyaki Chicken Thighs Recipe Together
Whichever way you want to add the sauce to the chicken is the right way. For this recipe, I dipped the chicken thighs directly into the sauce.
Serve with whichever sides you like. I did rice and broccoli.
For fun, I cooked the broccoli in the rendered chicken fat and it was amazing. I am sure that steamed broccoli is a more healthy choice, though.
You could also chop up some green onion on a bias and sprinkle it over the chicken as a garnish.
Conclusion
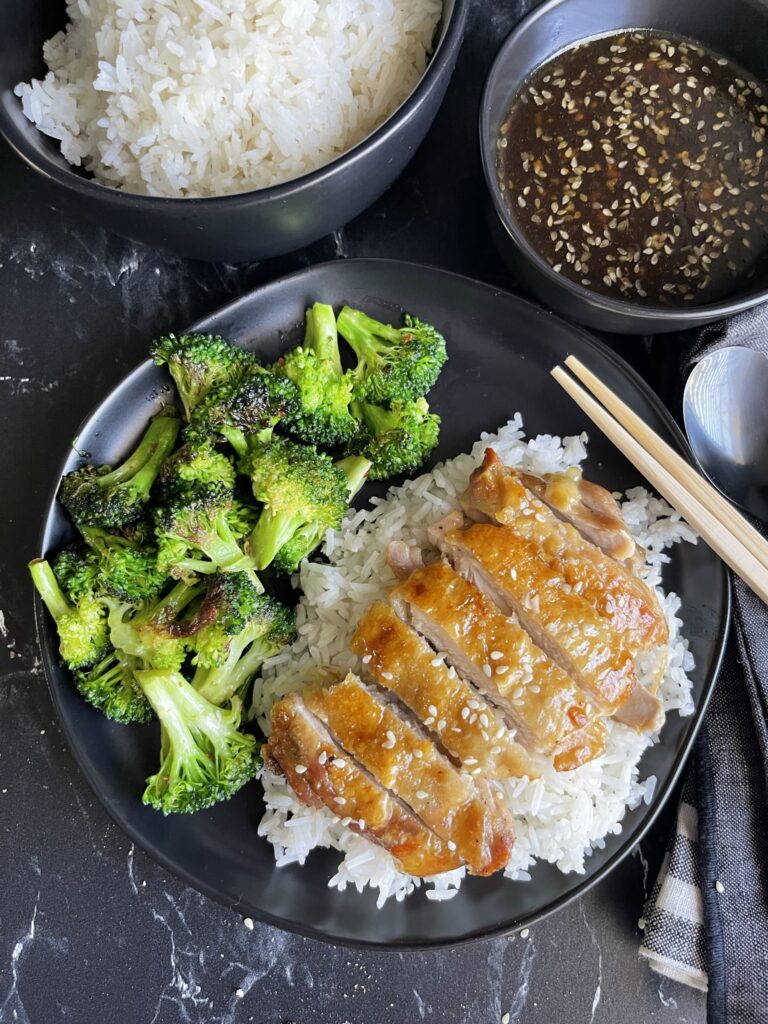
As I previously stated, teriyaki is well known but normally we’re calling in an order and picking it up. This sauce is a game-changer.
This chicken teriyaki recipe beats what we get out.
You can make this in your kitchen and it’s better than what you can get down the street. Fresh, delicious .. hot!
I know that chicken teriyaki can be done in a slow cooker. If you’re wanting a dump-and-go that would be a good solution.
But if you’re wanting that crispy skin, this is the way to go.
The flavor of the teriyaki sauce hits on all levels. It’s got a depthness of flavor that I don’t get eating out.
You need to try this! I am sure you will be adding this to your other favorite chicken recipes.
You should also check our Crispy Chicken Thighs With Garlic Cream Sauce. Same technique, totally different dish!

Crispy Chicken Teriyaki Thighs Recipe

Crispy Chicken Teriyaki Thighs Recipe
Ingredients
Meat
- 4 Chicken thighs deboned, skin on
Sauce
- 1 cup Sake
- 1 cup Mirin
- 1 cup Soy sauce low sodium
- 1 tbsp Vegetable oil
- 1 tbsp Garlic Finely chopped
- 2 tbsp Ginger Fresh, finely chopped
- 2 tbsp Cornstarch For slurry
- 4 tbsp Water For slurry
- 1 tbsp Sesame seeds Optional
Instructions
Preparing The Chicken
- Debone the chicken thighs, if needed. Place in the refrigerator for 30 minutes up to 24 hours
- Season both sides with salt and pepper.
- Place chicken skin side down in a cold large skillet and increase to medium heat.
- Watching the heat, cook until the skin has a nice crispy sear and is golden brown, about 12 minutes.
- If you feel as if the chicken is going to be done before you’re ready to serve, preheat your oven to 200 degrees Fahrenheit. You can place the chicken in the oven while everything else is ready.
- Flip the chicken and continue to cook for 5 to 7 minutes until the other side is crispy and the internal temperature reads 165 degrees Fahrenheit.
Preparing The Teriyaki Sauce
- Place a small saucepan over medium-low heat for the teriyaki sauce.
- Add a tablespoon of oil. After a minute or so, add the finely chopped garlic and ginger to the oil.
- Cook for approximately 3 to 4 minutes. Give it a stir occasionally. We want the aromatics to bloom, not burn. Adjust your heat as needed.
- Add one cup each of sake, mirin, and soy sauce to the sauce pan and bring to a low simmer. Cook for about 5 minutes to allow the alcohol to cook off.
- Allow the sauce to continue to cook until it has reduced by a third.
- In a small bowl add two tablespoons of cornstarch and 4 tablespoons of water. Combine well until it’s well mixed. Add the cornstarch mixture to the small saucepan. Whisk together.
- Optionally, add 1 tablespoon of sesame seeds and stir.
Putting It Together
- Drizzle the chicken with the sauce. Or dip the entire chicken thigh into the sauce. There really isn't the best way, only the way you like best.
- Serve with whichever sides you like. Rice and a vegetable is a nice pairing.
- Reserve any extra sauce in the refrigerator. Keeps for 3 months.


