The Perfect Homemade Sandwich Bread Recipe
I have been searching for the perfect homemade sandwich bread. It has taken years and many, many failed attempts. Baking bread and I have issues. If I can succeed with the recipe, it’s not the type of texture and flavor I want to achieve.
But now that has changed.
Don’t Sweat The Recipe is supported by its readers. We may earn a commission if you purchase through a link on our site. Learn more.
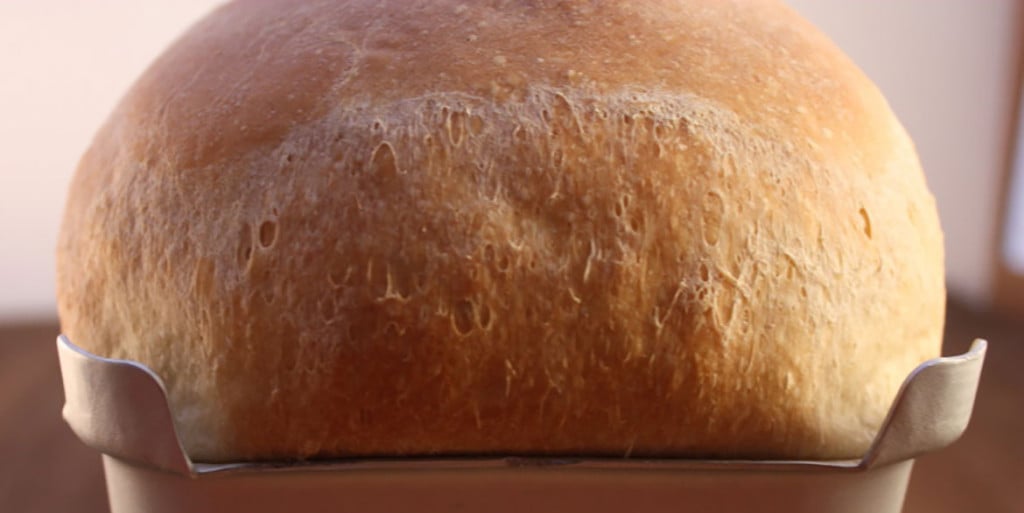
Delia at deliacreates has now become my favorite person at the moment. Especially that moment when I pulled this bad boy out of my oven.
This homemade sandwich bread recipe is dairy and egg-free. Which might be the reason our loaf lasted almost a week.
Ingredients Needed
- Water – Liquid activates the yeast.
- Sugar or honey – Sugar feeds the yeast and helps tenderize the dough.
- Oil – also helps tenderize the bread and prolongs shelf life.
- Yeast – Yeast is what makes bread dough rise. You can use active dry yeast or instant yeast. If using instant, you do not need to proof it first.
- All-purpose flour – You can use all-purpose or bread flour.
How to Make Homemade Sandwich Bread
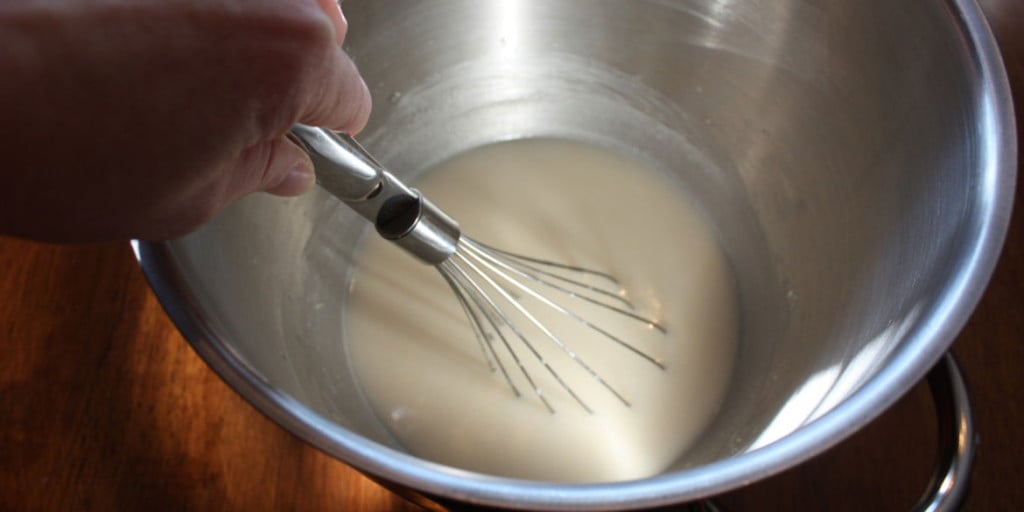
This recipe recommends adding salt to the yeast and hot water instead of sugar. I know it’s not the standard method for proofing yeast but don’t question it; it works.
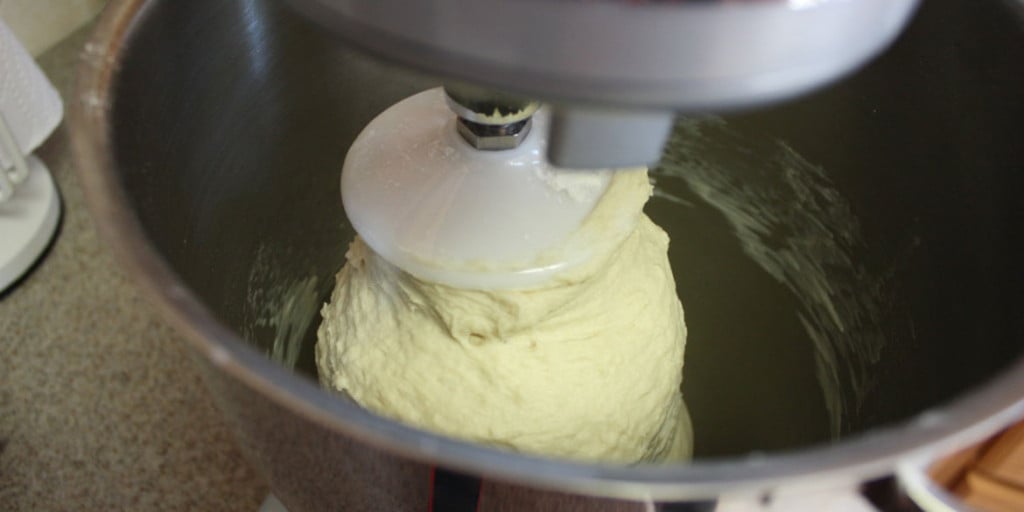
If you have the strength (or just desire), give it a go and knead by hand. I use the dough hook for my stand mixer, which also has a timer, so I set it and then clean the kitchen. You could even use a bread machine if you have one.
This recipe calls for 5 to 7 cups of flour. Add them one cup at a time until it starts to pull away from the mixing bowl. You DO NOT want to add more flour than needed. It will cause the bread to come out dense and dry.
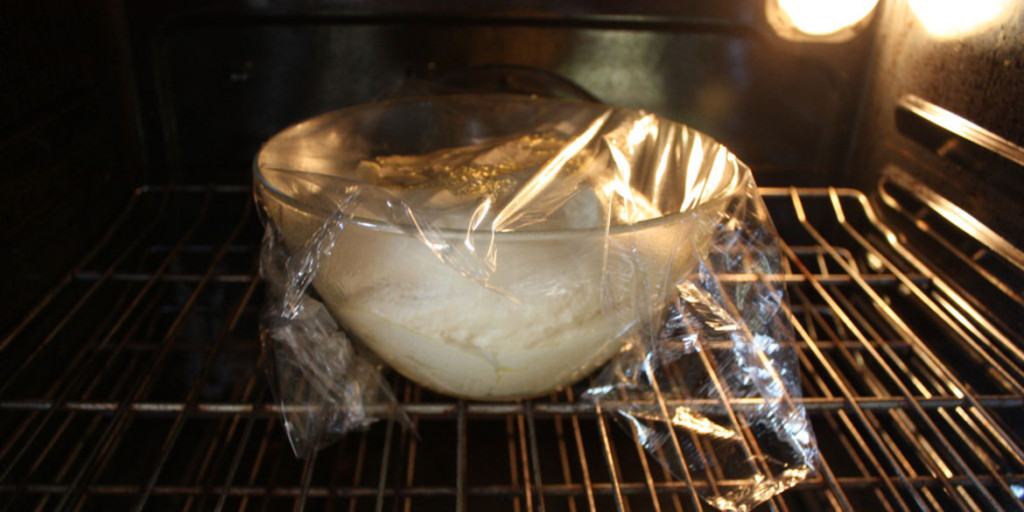
To raise the bread dough, I turn my oven to 125 degrees while making the dough. When it reaches temp, I turn it off and turn the oven light on.
Cover the bowl with oiled plastic wrap and allow to rise for 30 minutes. The rise time for this recipe is fairly short due to the amount of yeast used.
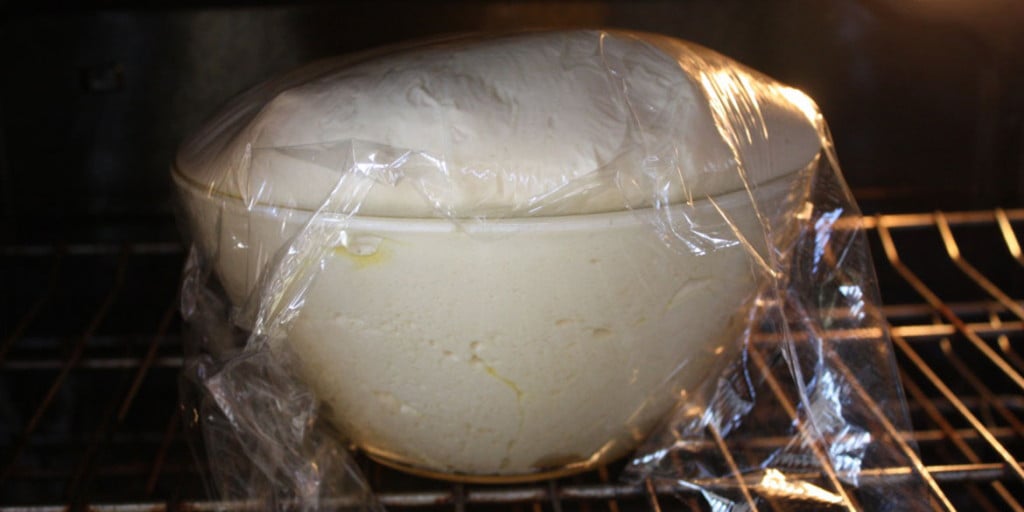
I am placing another photo just in case you can’t see how much it has risen in only 30 minutes. I was SHOCKED!
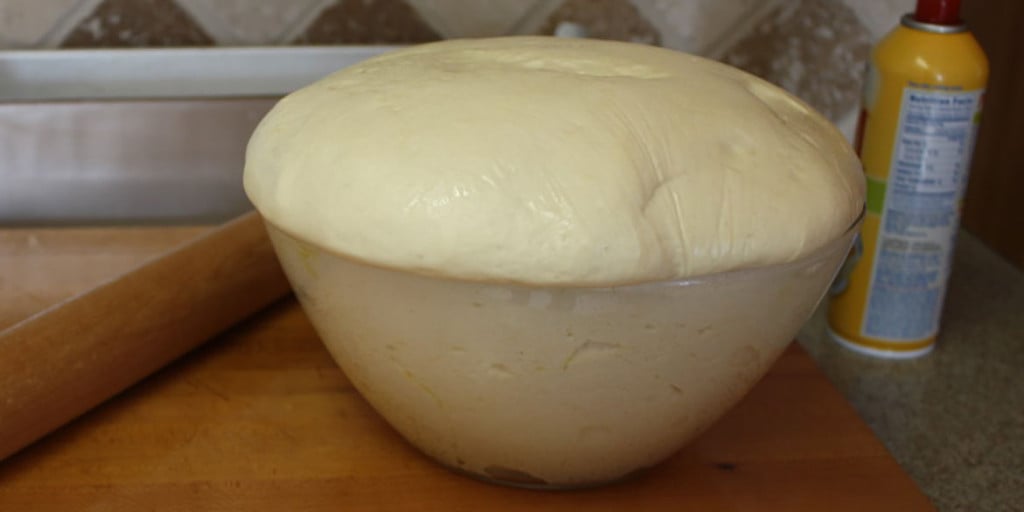
Now time to roll out the bread dough and place it in my never before been used 16″ bread loaf pan.
I was so excited to finally be able to use this pan. By the way, it measures 16 x 4 x 4. I greased my board and rolling pin, then went to work.
This recipe will also make 2 large loaves of bread or 3 mediums. You don’t have to make a gigantic loaf as we did here.
The dough is easy to roll out and achieve your desired shape.
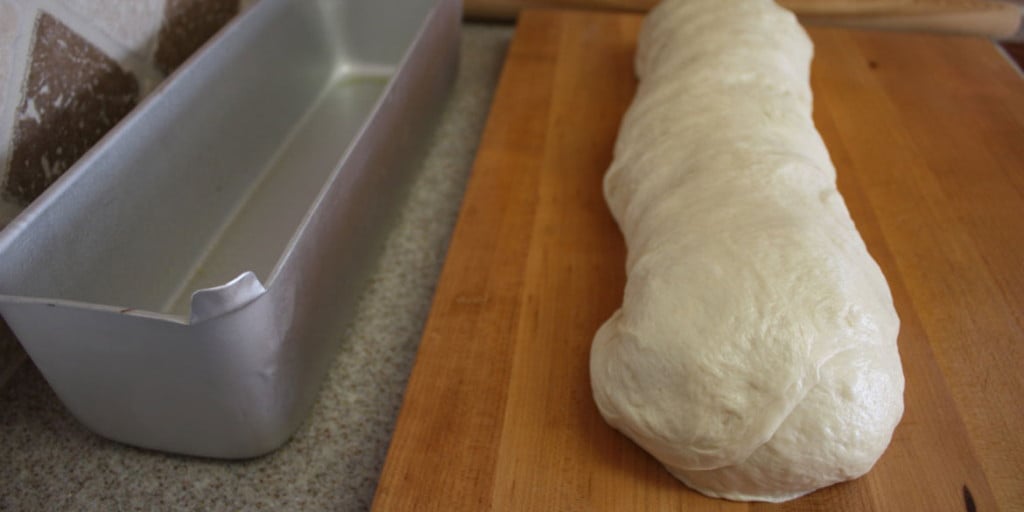
Placed it in the pan, cover it with greased plastic wrap, and let it rise again.
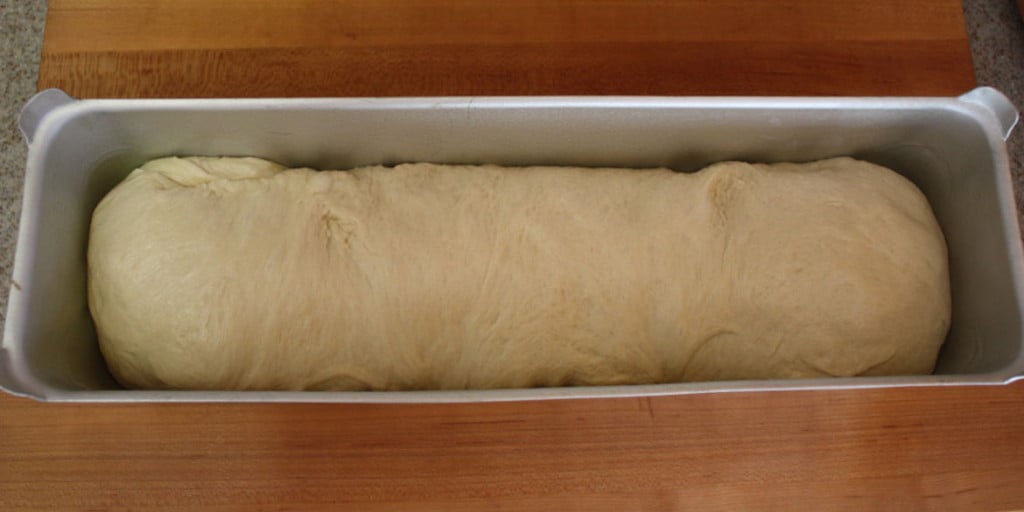
I put it back in the slightly warm oven with the light on for another 30 minutes.
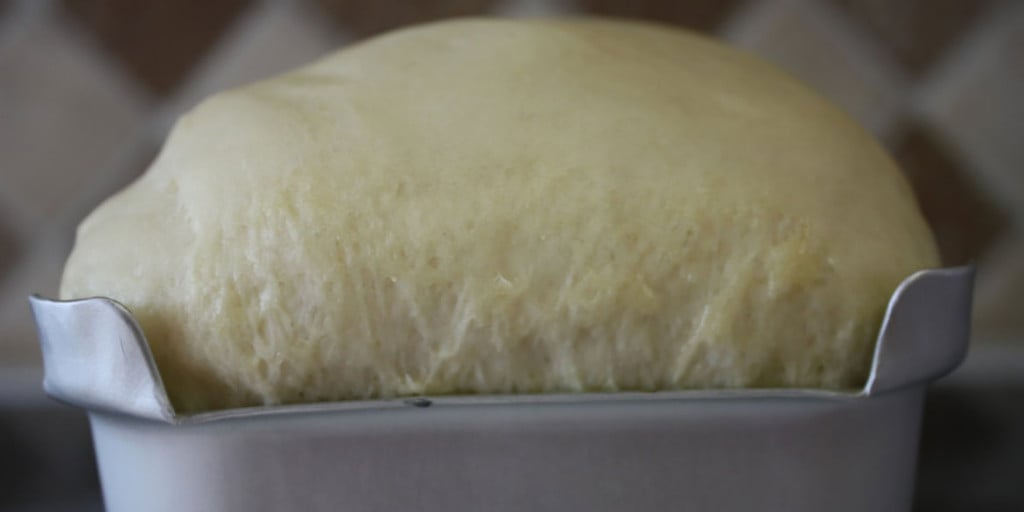
Look at the height of this loaf of bread.
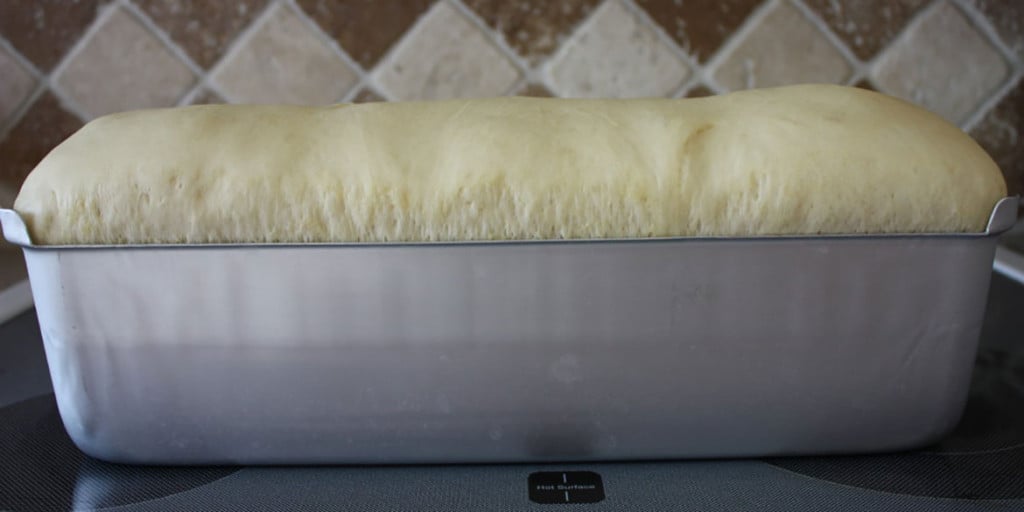
The picture above is the full view of the homemade bread dough’s final (30-minute) rise. Next, we baked the beautiful, never before seen in our home.
Oh, the smell of this yeast bread while it was baking!
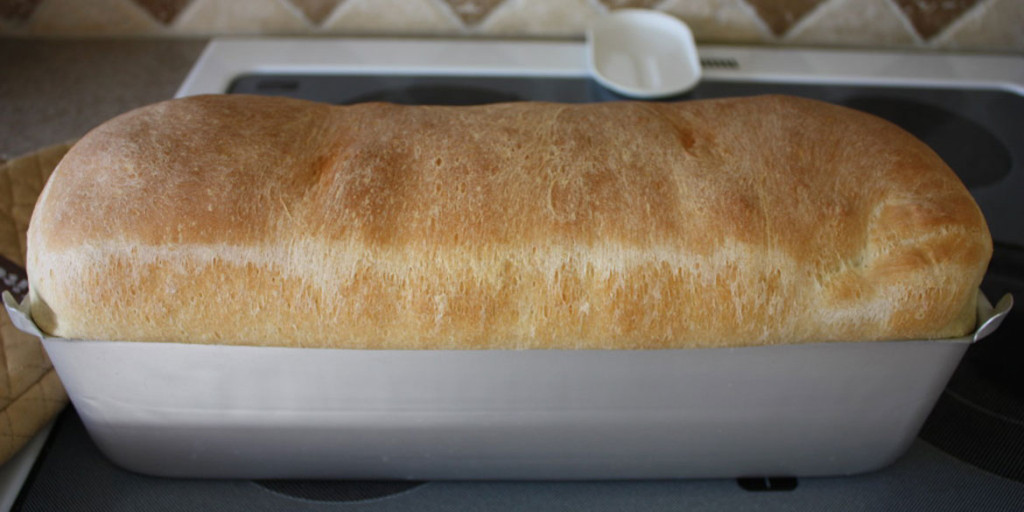
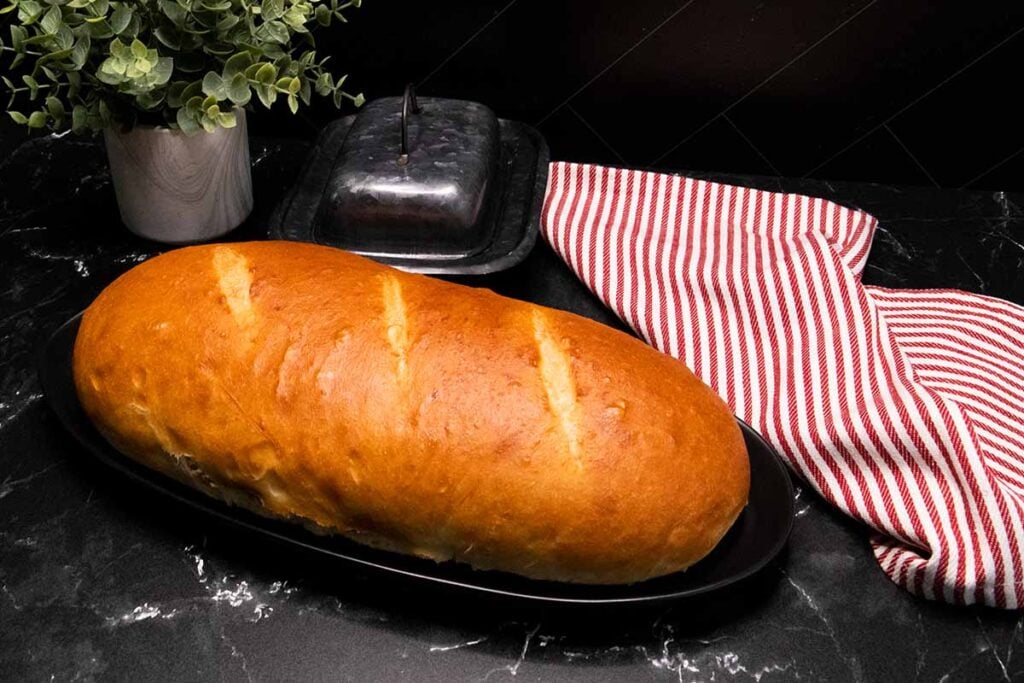
I can’t impress upon you enough the ease of this recipe. Also, the size of this loaf is GINORMOUS!
I sent a photo to my husband, who was unimpressed until he arrived home from work and saw this in person.
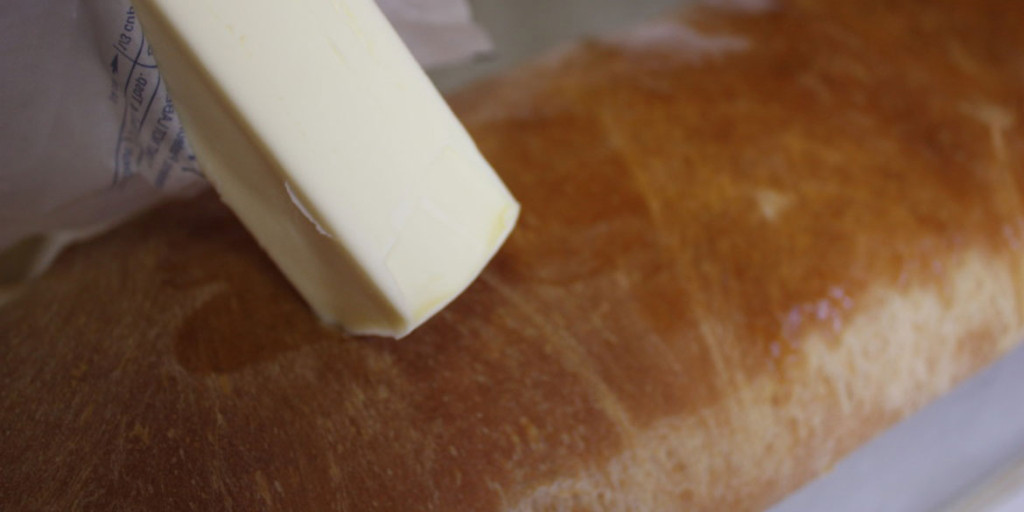
Rubbing butter on top of the crust while it’s warm added a nice shine. Or you can brush with melted butter.
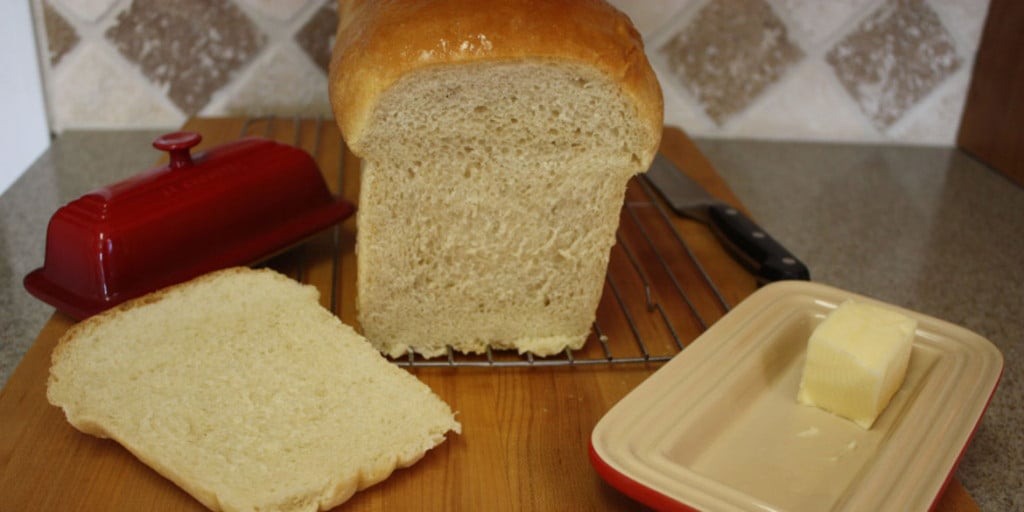
Slice and ENJOY your bread for days. Toast from this homemade bread tasted amazing!
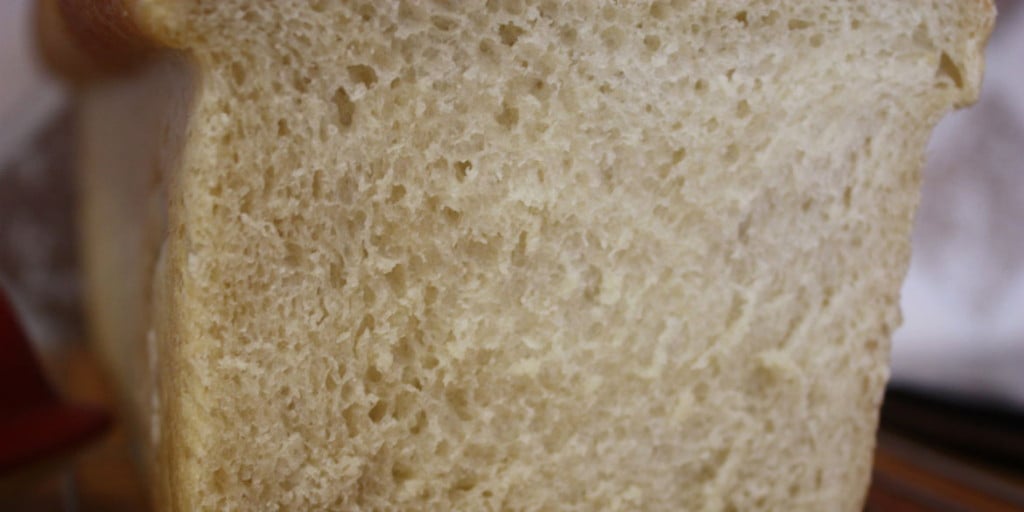
You could use a mix of wheat and white flour to make damn tasty wheat bread if you like. In fact, you could try all sorts of different types of bread flour to make your own unique homemade bread.
Bread is the quintessential food that man has been making for thousands of years. The things you can do with it … the sandwiches you could make.
Try making a fresh loaf instead of the store-bought stuff. Is store-bought more convenient? Sure. Is it better? NO!
This homemade bread loaf tasted great! Anytime we do up the ‘righteous’ sandwich, this bread is made.
If you whip up a loaf of this, we sure would like to hear about it. Let us know how it went!
FAQs
Yes. Bread is typically made with just a few ingredients flour, water, yeast, and oil. You more than likely have these ingredients in your pantry already.
Store-bought bread is usually loaded with preservatives that extend its shelf life. You can control the ingredients in homemade bread, making it healthier.
More Delicious Bread Recipes
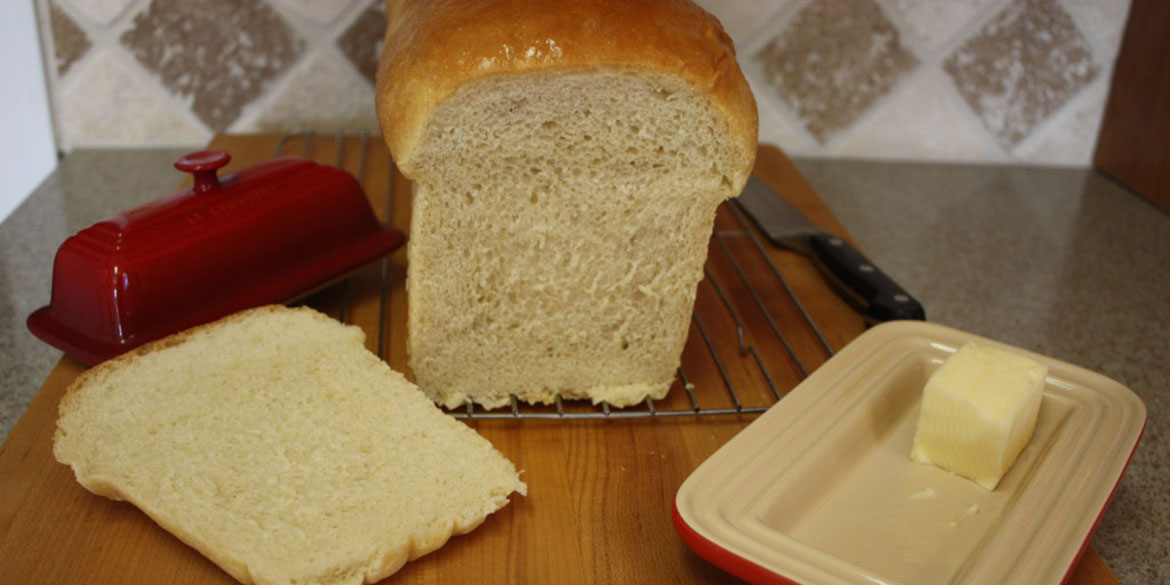
Homemade Sandwich Bread Recipe
Ingredients
Makes 2 large loaves, 3 medium loaves, or 1 large loaf and 2 mini loaves. (I made one really large loaf)
- 2 1/2 cups HOT water
- 1/3 cup oil
- 1/3 cup sugar/honey { fill the cup with oil first empty it, and then fill it with honey so it doesn’t stick to the cup}
- 1 TBSP salt
- 3/4 cup flour and about 5-7 cups of flour divided
- 1 1/2 TBSP yeast
- Spray oil
Instructions
- Whisk together in the mixing bowl of your stand mixer: Water, oil, sugar/honey, and salt.2 1/2 cups HOT water, 1/3 cup oil, 1/3 cup sugar/honey { fill the cup with oil first, 1 TBSP salt
- Add: 3/4 cup flour and whisk for 30 seconds then add yeast and whisk for 30 seconds more.3/4 cup flour and about 5-7 cups of flour, 1 1/2 TBSP yeast
- Add 2-3 cups of flour and mix together with the dough hook.
- Add the rest of the flour and mix for about 5 minutes with the dough hook or until it pulls away from the sides of the bowl. ( I added one cup at a time)
- Mix until the dough starts to pull away from the bowl.
- The bread dough is ready when you push two fingers in gently but slightly firm and it comes back quickly. If it sinks/sags it needs more kneading.
- Let rise in a clean, greased, covered bowl for about 30 minutes or until doubled. ( I heated the oven to 125 degrees, then turned it off and turned the light on)Spray oil
- When the dough has doubled, remove from the oven and preheat it to 125 degrees again.
- Grease your bread pans with spray oil. Divide the dough. (if desired)
- Now grease your countertop with spray oil. We are using oil at this step, instead of more flour, so the bread will stay moist and not dry out.
- Roll the dough into a tight cylinder. If your dough roll is too long for your pan, tuck the ends under to make it fit. Cover the pans with greased plastic wrap to keep the dough from drying out.
- Place loaves in the warm oven for about a 1/2 hour or until the dough has risen to fill the pans (almost doubled). Remove the pans from the oven.
- Preheat the oven to 350 degrees and cook for about 30 minutes. The bread is done when you hit the top and it sounds hollow. Let the bread cool in the pan for about 10 minutes.
- Turn loaves out on a wire rack. Smother the top of the loaves with butter if you desire.


Hi ,
I made the loaf put it in pan and it is in the oven to rise. I covered it but you didn’t mention to cover it. Was I supposed to? I always do on all my bread once in the loaf pan.
Thanks
Kathleen
Yes, you can cover it to keep it from drying out during the rising. I hope you enjoy the bread!
please let me know where I can find that huge loaf pan you used
it looks like a 9″x5″ pan doubled in length. is that correct
I would like to find a lager pan.
thanks for the recipe I giving
it a try this wkend
Hey JP, here’s a link to the pan we used.
https://www.amazon.com/gp/product/B00024WNOU/ref=as_li_tl?ie=UTF8&camp=1789&creative=9325&creativeASIN=B00024WNOU&linkCode=as2&tag=midoildes-20&linkId=OKT4SJLEFNIJZYDB
Thanks!
I love homemade bread! Thanks for the great in-oven photos.
This bread is being featured on Your Inspired Design today. Wish I lived next door… ha
Oh this bread looks absolutely delicious! I need to try making it. Thanks for sharing the recipe with SYC.
hugs,
Jann
Your homemade bread looks amazing, bread is my weakness! What a great recipe and thanks so much for sharing it with us at Full Plate Thursday! Hope you had a great Thanksgiving and come back to see us real soon.
Miz Helen
What an absolutely perfect loaf! Thank you for the tips on making it and for entering into #festivefoodfriday!
Thank you Kerry!
That looks delicious! I will be featuring this tonight at my Fall into Fall party that opens at 8pm EST. Please stop by and pick up an I’ve Been Featured button. Thanks. https://diybydesign.blogspot.com
Thank you so much Judy, I will!
OH I need to try this I have failed on so many breads lately and really need to try a better recipe. I hope this one turns out for me. Looks delicious. lol Thank you so much for linking up to Share With Me. #sharewithme
Oh, nothing is better than fresh made bread! Yours looks delicious! My husband is actually the baker in our family. He makes a batch of fresh bread at least once a month. Thanks for sharing your recipe and partying with us at Talented Tuesday.
Cheers,
AJ
Thank you!
What a handsome loaf of bread you make. Thanks so much for your contributions to Fridays Blog Booster Party. I am looking forward to seeing you at the Blogger’s Pit Stop rally on Friday with more of your posts.
Kathleen
Ummmm, yes please! This looks absolutely amazing. Thanks for stopping at Your Inspired Design!
Thank you Holly!
I’m so happy to have found this recipe because my bread maker is on it’s last leg. As in, I don’t think I can use it anymore. I had the perfect bread recipe, and I just used the bread maker for the dough. I never liked the shape of the bread from a bread maker, so I always shaped it myself and baked it in loaf pans. Looking forward to trying your recipe!! Love the tip about using oil as to not dry the bread out Pinning this! Thanks for joining the party at FTAF!!
Thank you Chellie and I hope you enjoy it!
If there was a massive like button on this I would hit it 10,000 times… I can smell this bread by just looking at the picture. Yum! I can’t believe it lasted almost a week. Win.
Sally @ Life Loving
#LifeLovingLinkie
Wow that looks amazing! My kids are bread lovers and would love having a gigantic bread loaf like that.
It is really easy and I now use 2 11-12″ pans. Thanks for stopping by!
Oh my, that bread looks wonderful! Pinning!
Thanks for stopping by Erin!
That looks incredible – just like a bought one – and I’m sure it tastes even better! I love making bread at home, but have never found the perfect white bread recipe, so I’ll have to give this one a go. Visiting via Life Loving Linkie 🙂
Thank you Robyn! I hope you enjoy it.
Yummy bread! I’ll have to check this recipe out!
I’ll be trying this for sure, love it’s dairy and egg free! Now I just need to replace sugar for maple syrup
Thanks for sharing with us at Two Uses Tuesday!
Happy Thanksgiving!
I hope you enjoy it! You can also use honey.
I have been looking for a good sandwich bread recipe, this looks perfect! I have pinned and will be trying soon!! Thanks for sharing, have a blessed Thanksgiving!!
I hope you enjoy it Nicole! Thanks for stopping by!
Oh yummy, perfect loaf! Thanks for linking up to #tastytuesdays x
Thank you for hosting!
This looks so great!! Going to try this!!
Thanks Cheryl! The recipe hasn’t failed me yet, I hope you enjoy it!
drool alert next time – I about drowned! omg that sandwich bread looks so delish! i can just about smell it over here. Definitely a keeper recipe!
Thank you! We can never wait for it to cool before slicing it up.
What a gorgeous looking loaf. I never have success with bread
Thanks Alison! This recipe has yet to fail me, give it a try.
Hello,
Stopping by through Making Your Home Sing Monday.
Your bread looks very good! I have never seen this type of bread pan before – really neat.
Hope you will stop by my blog to say “Hello.”
🙂 Hope
Thank you! I will stop in and check your blog out.