Thin Mint Cookies
We all know thin mint cookies from the Girl Scouts. Who knew you could duplicate them in your own kitchen?
I found this recipe and thought I would give it a shot. Never thought a homemade version could be as good, if not better.
My sister claims these were better than the Girl Scouts version. I’ll take that as a win.

Why You’ll Love this Recipe
- Perfectly crispy and just the right amount of mint flavor
- Dipped in a peppermint chocolate coating
- Easy to make
- Amazing cold out of the freezer or fridge!
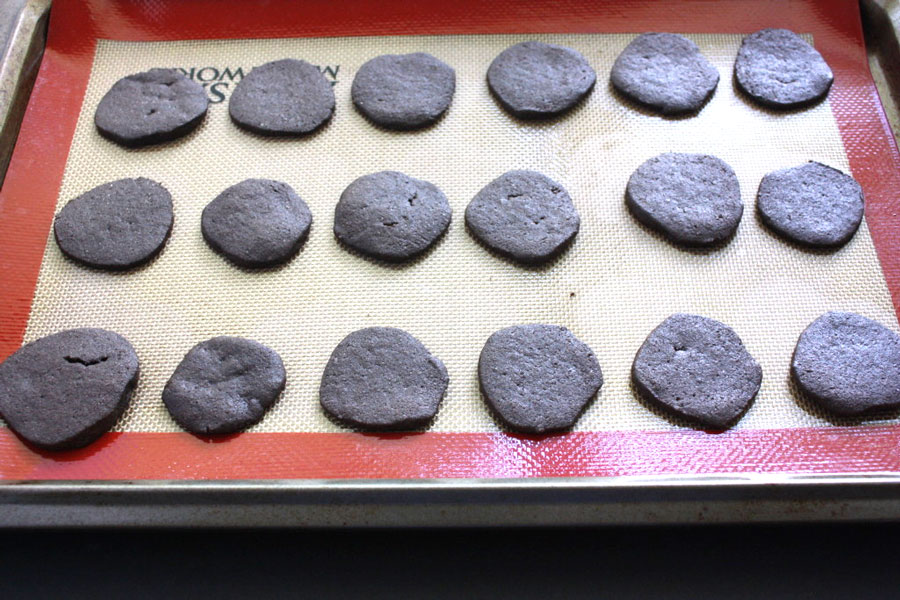
How to Make Homemade Thin Mint Cookies
Whisk together flour, cocoa powder, baking powder, and salt in a large bowl.
Beat the butter and sugar together with a mixer on medium-high speed until pale and fluffy.
Beat in egg and peppermint extract until combined.
Reduce speed to low and gradually add flour mixture; beat just until incorporated.
Divide dough in half and use damp hands to shape each portion into a 10-inch log.
Wrap in plastic and refrigerate until very firm, about 2 hours (rotate dough occasionally while chilling to prevent flat sides).
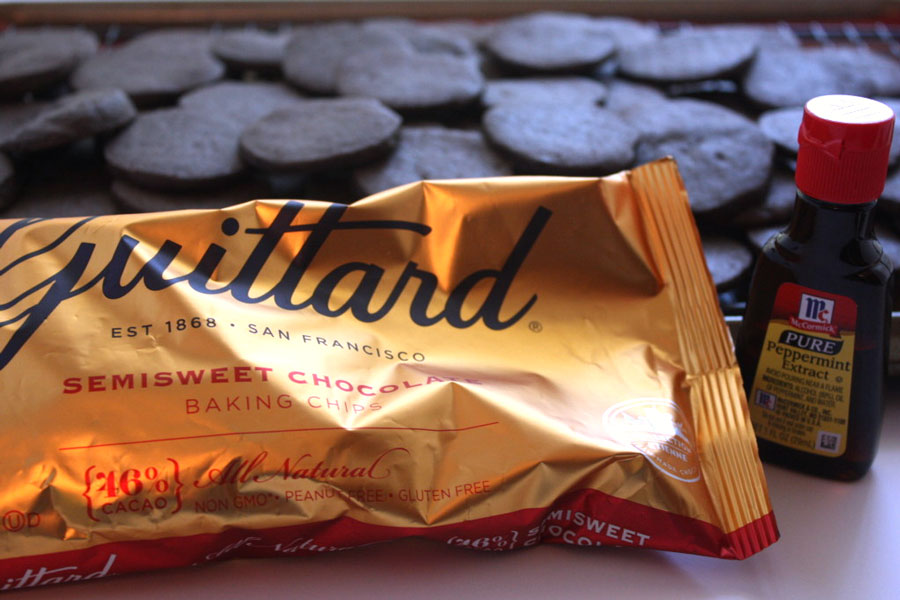
Preheat the oven to 350°F and line two baking sheets with parchment paper.
Use a sharp knife to cut logs into slices (just shy of 1/4-inch thick), rotating rolls to keep them from flattening.
Bake for 9 minutes, until edges are set. (bake time may vary)
While cookies cool, place chopped semi-sweet chocolate in a double boiler, or in a heat-proof bowl over a saucepan of gently simmering water. Slowly melt the chocolate, stirring occasionally until glossy and smooth.
Stir in mint extract and reduce heat to low so that coating will retain its consistency.
Line two baking sheets with parchment paper.
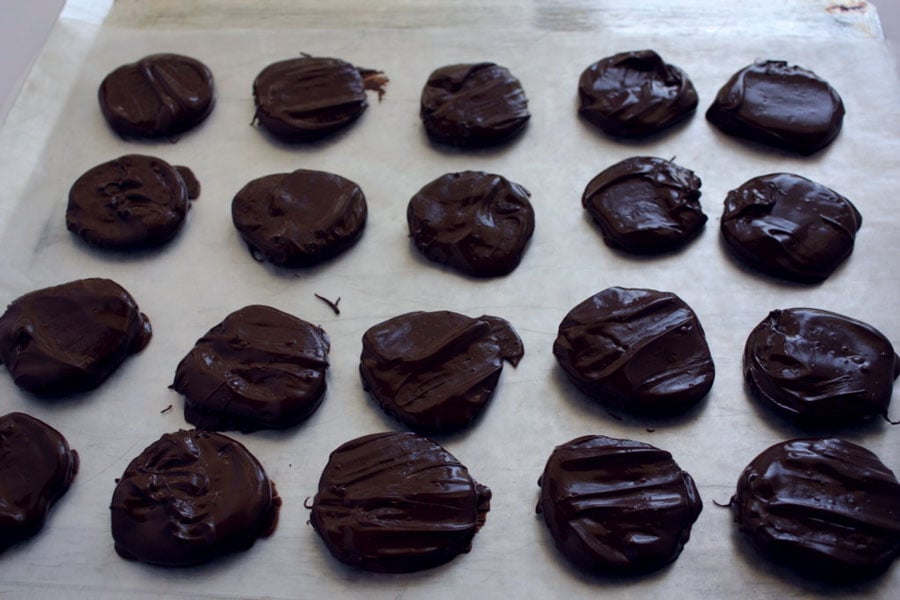
Don’t judge these cookies by my not-so-perfect semi-round shapes. I’m terrible at this sort of thing.
Drop cookies into the melted chocolate mixture one at a time to fully coat.
Lift the coated cookies out of the chocolate with a fork, tapping the fork gently against the bowl to allow excess chocolate to drain off.
Place coated cookies on prepared baking sheets and freeze or refrigerate until the chocolate coating is set (about 15 to 20 minutes).
Tips
- Always measure your flour properly. Aerate, spoon, and swoop level.
- Use room temperature unsalted butter. Using salted butter varies in salt level so you’re never sure how salty the cookies will turn out.
- Double check and be sure you are using peppermint extract not mint extract. Mint extract is a combination of spearmint and peppermint. The mint extract gives a sort of toothpaste flavor.
- Be sure to chill the dough. Chilling the dough allows the butter to solidify and helps keep the cookies from spreading.
- You can use semi-sweet chocolate chips instead of block chocolate.
- You can add 1 teaspoon of coconut oil or vegetable oil to the chocolate to make it thinner and easier to dip.
- Use a fork to lift the cookies out of the melted chocolate.
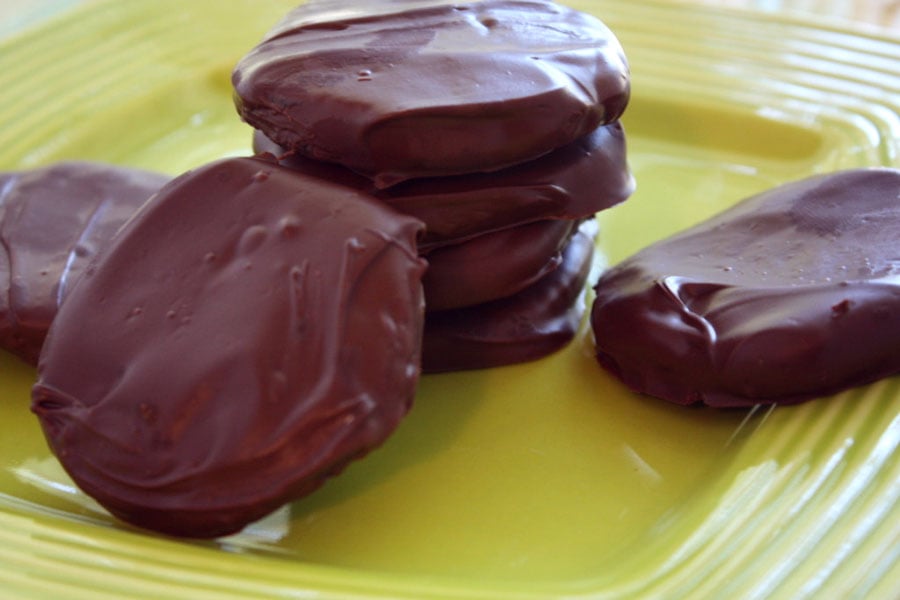
These cookies may not look as pretty and perfect but they almost taste better than the Girl Scout Thin Mints. GASP!
FAQ
Yes! These cookies are great for making ahead. Roll the dough and keep it refrigerated for up to 3 days, or freeze it wrapped tightly and store in a freezer bag for up to 2 months. When ready, cut and bake as directed.
These cookies keep at room temperature in an air-tight container for up to 3 days but are best in the refrigerator for up to a week. Freeze the cookies in an air-tight container or freezer bag for up to 2 months.
More Cookie Recipes

Thin Mint Cookies Recipe
Ingredients
Cookies
- 2 2/3 cups all-purpose flour
- 1/3 cup unsweetened dark cocoa powder
- 3/4 tsp baking powder
- 1/2 tsp salt
- 1 cup unsalted butter, at room temperature
- 1 cup sugar
- 1 large egg
- 1/2 tsp peppermint extract
Chocolate Coating
- 24 ounces semisweet chocolate chopped
- 3/4 tsp peppermint extract
Instructions
- Whisk together flour, cocoa powder, baking powder, and salt in a large bowl.
- Cream butter and sugar with a mixer on medium-high speed until pale and fluffy.
- Add egg and peppermint extract until combined.
- Reduce speed to low and gradually add flour mixture; beat just until incorporated.
- Divide dough in half and use damp hands to shape each portion into a 10-inch log.
- Wrap in plastic and refrigerate until very firm, about 2 hours (rotate dough occasionally while chilling to prevent flat sides).
- Preheat oven to 350°F and line two baking sheets with parchment paper.
- Use a sharp knife to cut logs into slices (just shy of 1/4-inch thick), rotating rolls to keep them from flattening.
- Bake for 9 minutes, until edges are set.
- Cool for 2 minutes on baking sheets, then transfer cookies to a wire rack to cool completely.
- While cookies cool, place chopped chocolate in a double boiler, or in a heat-proof bowl over a saucepan of gently simmering water. Slowly melt the chocolate, stirring occasionally until glossy and smooth. Stir in peppermint extract and reduce heat to low so that coating will retain its consistency. Line two baking sheets with parchment paper.
- Drop cookies into the melted chocolate mixture one at a time to fully coat.
- Lift the coated cookies out of the chocolate with a fork, tapping fork gently against the bowl to allow excess chocolate to drain off. Place coated cookies on prepared baking sheets and freeze or refrigerate until set (about 15 to 20 minutes).
- Store leftover cookies in an airtight container in the refrigerator or freezer.

oh may, these look amazzzzzzzzzzzzzzzing! Thank you so much for linking this up at SHARE IT at FineCraftGuild.com I just cant wait to see what you’ll bring us tomorrow when a new party opens! Yahoo!!!! ~ Rose
Awww! One of my favorite cookies! Looks delicious 🙂 #SmallVictories
Thanks Danita!
Yum! Would love to try these! Pinning to share 🙂
Thank you for sharing with us at Snickerdoodle Sunday!
~Laurie
Thanks Laurie!
Is there anything better than mint + chocolate + cookies? Love the girl guide cookies…we just finished off a box last weekend!